Showing posts with label painting. Show all posts

Monday, April 16, 2012

Painting secret

Erik and I have unanimously decided that painting trim is the worst.thing.ever. EVER.

I did, however, learn a little tip/trick last summer while being an adult volunteer for Prayer & Action.


Yes, that's a plastic tupperware-like container. And yes, that's a Ziploc bag.

Pour your paint in the container with a lid. Paint from there. If you're doing 2 coats or just don't want to do it all at once, then you can put the lid on and walk away from the project.

But what about the brush? Enter, Ziploc bag.

Put your wet (yes, brush w/ paint on it) into the bag. Squeeze the air out. Seal. You can come back hours or even DAYS later and the brush should be moist and you should be able to continue to paint (this means you don't have to wash it out after every single use if you're doing lots of window frames over several days!).

Best.Thing.Ever.

Thursday, April 5, 2012

Middle Bedroom project!


Erik's putting together this super shelving unit for the middle bedroom! The photo shows a pretty accurate color of what it is. :)

The arrival of this shelf was a big deal. I ordered it from IKEA. Well, I didn't really order it b/c their shipping rates are staggering. But my brother picked it up for me in Chicago and carted it back here. Thanks to Paul! :)

There will certainly be more on this later!

Currently, there is construction material in this room from our flooring install ... which is SO CLOSE to being complete! :) Once we get all of the floor stuff finished and the middle room free of it, I'll be able to finish up things in there - and I can hardly wait!

Wednesday, March 14, 2012

Kitchen/Dining room in progress

Oh how close we're coming! Well, most of our part of the kitchen/dining project is over. The big part. We've painted the walls!


The trim you see in the background is the original color everything was ... but once I'm done w/ it, the trim will be white.

Yet seeing the dining room now, with no photos on the walls ... it feels so empty/naked! (see our dining room wall w/ photos on it HERE).

Part of me really wanted to choose a more bold color for the dining room/kitchen room. Yet because we have a variety of photos/art that we hang on our walls with a variety of colors, going with a tan/khaki color seemed to be the smartest/most versatile option.

Yes, there is no baseboard (we tore it out), and yes, there is dust ALL OVER the table. It's been a bit of a disaster zone around here lately. Yet we now are (almost) ready for the laminate floors to be installed.

No, we will not be installing the floors. I am convinced it is a home project that our marriage could not survive. After interviewing a few people, we've settled on one I feel very confident in working with.


This is how our sample looks in the dining room. A friend will come over Saturday to help me tear the carpet out. Yes, I realize the walls aren't perfect, but it's something I have decided I am willing to live with. Seriously. Sanding and mudding and sanding is a disaster (see above dust-covered dining room table). I decided "good enough" and moved on. Besides, I consulted this super-handy guide to selecting a paint finish and selected a flat/matte finish. Seriously, even though there are imperfections in the walls, it's not overly visible.


Here's how it will look in our kitchen, with our cabinets. The tile will stay in place. The installer will just 'float' it in over the tile. Then he'll put baseboards in everywhere. So the strip of unpainted wall at the bottom won't be visible.

Speaking of painting ... I finally got hip and realized there is the option to buy combined paint/primer. I was a little skeptical, but we decided to give it a try. So far, so good. We have 2 coats of paint on the walls and it seems to do the trick. The one 'down' side is I couldn't purchase this in a 5-gallon bucket. I really wanted to because we intend to paint the living room the same color. Yet you can't get the combo paint/primer in the 5-gallon buckets. I would guess it has to do with not being able to use this effectively on NEW drywall. And I'd guess mostly contractors are buying paint by the 5-gallons. So it makes sense.

Ok, so that's what's up around here. Just trim painting for me .... and carpet removing. But then I am DONE with my part of the project. Then it will be in our installer's hand! :)

Monday, January 9, 2012

Review: Green tape

I splurged on the green turtle tape forour bedroom painting.


This is how it did.

NOT impressed with the edge barrier. :(

It did seem to excel in keeping windows free from paint, though. Maybe it is more discerning about the surface?

I had quite a bit of touching up to do. Then trim painting.


I have NO IDEA how I ended up with so much white trim paint in my hair. Seriously. I've never had this much paint on my head. Ever. I looked like I had white hairs, and some of the paint stuck around 3-5 days. Sheesh.

Monday, May 9, 2011

Painting secret

I'm going to let you in on a little secret today.

It all started yesterday when I was talking w/ my sis. She was talking about doing some home painting, and I was telling her how I read about the different paint finishes, how they work better in different places, etc. It was news to her, and it was news to me when I read it .... so I figure I'll share the link with my blog world. :)

THIS LINK talks about the different finishes of paint. It gives suggestions for the best finish in living rooms v. bathrooms. Good info.

I learned the hard way when I painted our master bedroom. I had my little sample can and said "this one" .... and when it was all painted, well, you could see every imperfection on the wall, and it honestly looked a bit like the circus had come to town with the glossy finish. So I went, got another gallon of a matte finish and painted over it ... with good results. But to help YOU avoid this, I thought I'd share the link.

Here's another sneaky little secret: At Lowes' in Salina, all of their little paint sample cans COME in the gloss finish. So if you go and say "this one" they'll give it to you in gloss ... not asking if you would prefer eggshell. Egades!

The front bedroom of our house and closet are painted with the gloss, but it's not too crazy, I think because the colors are more subdued. So .... lesson learned: if you're going big + bold on your wall color, be sure to avoid gloss at all costs. :)

Wednesday, November 18, 2009

Painting!

A few weeks ago, my friend Andrea said she is willing to come and help me paint the master bedroom. It's difficult to turn down help, especially someone who is willing to come to MY place and WORK for me.


So I told her to come on over!!!


Andrea hard at work!

Photos of the room to come tomorrow!!!!!

Tuesday, November 17, 2009

Painting process ...

I know you are just beside yourself, wondering what pearl of wisdom I'm going to impart on you today .... and are you ready for it?

Wait.

Wait.

Wait for it .....


A queen-sized bed comfortably fits into our closet.

Yeah, we're not really the bed-making type of people, but you get the idea.

This was part of our process for painting the master bedroom. Photos of the painting to follow .... I PROMISE!!!!!!! I'm sorting through them and will get them posted up here shortly. :)

Sunday, March 15, 2009

Front Bedroom — Before & After


Do you see the light in the "after image" ... well, I'd like to replace it with THIS:


I think Erik would need some serious convincing, though. Oh well, I like it and can dream, right?????

OH, and of course, there's the progress of the whole thing:

Here's the room once it's been emptied and primed.


Here's the paint color we selected ... the one in the middle, that is.


Here are all of the tools ...


And Erik workin' hard ... I wish I could blame the lack of focus on someone other than myself ... but no.


Booger's investigating our handiwork.


Check out how well the wall color goes well with the sheets (yes, I'm a DORK!).


Also, be sure to check out THIS post about how I suckered my sister into making the wall art for me. :-)

And for anyone who is interested, the photo on the wall is from my trip to Africa in 2006.

This is our GUEST ROOM, so if you're ever in/through Salina and need a place to crash, shout! I *adore* having company.

Tuesday, February 26, 2008

# 60 — Paint a room in my house (Bye, Bye Beige!!!!!)


.... CHECK!

... well, this isn't *technically* my house, but in September, it will be OUR house, so I'm checking this off of my 101 in 1001 list.

I know some of you have been anxioux to see this .... so settle in because this will be a LONG post (think: play by play).

Wow, I'm not even sure where to begin. I should first confess that I came up with "the black book" for Erik's house. Yup, projects I'd like to see done ... in an orderly, organized, fashion (I DID leave room for Erik to add projects, so don't go feeling sorry for him quite yet!).

This was a room I've been thinking about for a long time. I think the first time I mentioned it, I suggested painting only the top, but it evolved to painting the wainscotting white as well (who wants to look at only 1/2 of a newly painted room?).

Oh, and the chocolate brown color .... where the heck did I come up with it? Well, my college roomie, Jeanel, painted a bathroom brown once and I LOVED it! When I was thinking about this space, that color came to mind and I knew it'd be perfect! Bold, but not overbearing.

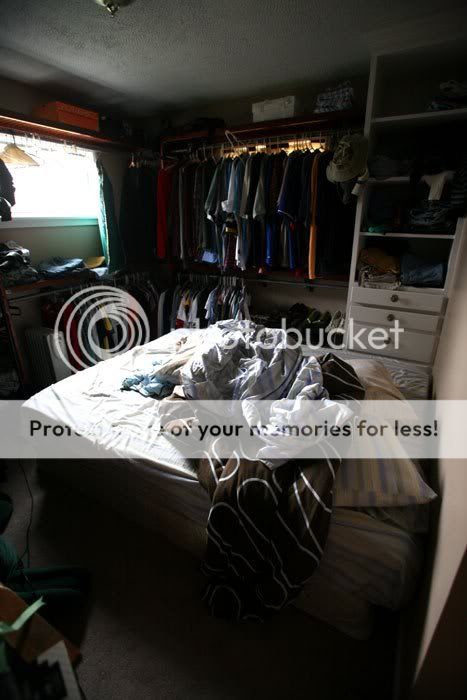
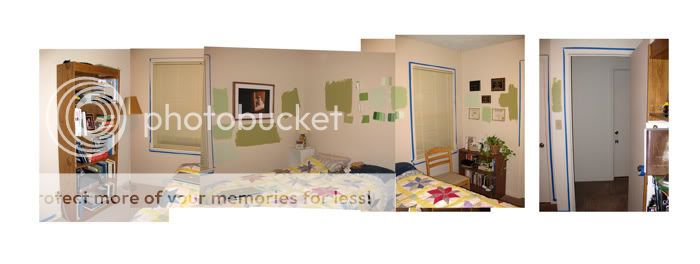
Here's the before photos:


When we took the mirror off the wall, we discovered that there was a medicine cabinet in the wall. Erik didn't even know it was there!


Some hardware was rolling around loose in the wall...


There was a hole in the wall that I patched before painting (did I mention I've never patched wall holes before???)


Before I embarked on this adventure, I did plenty of reading up. In my reading, I was told to wash the walls before painting them. Um, the only problem was that I balanced the bucket of water atop the toilet .... and the following flood resulted :-(


This is me thinking my painting adventure is over before it even begins.


And THIS is where the water from the bathroom ended up. EEK!!!! I REALLY thought my painting career was over at that point!


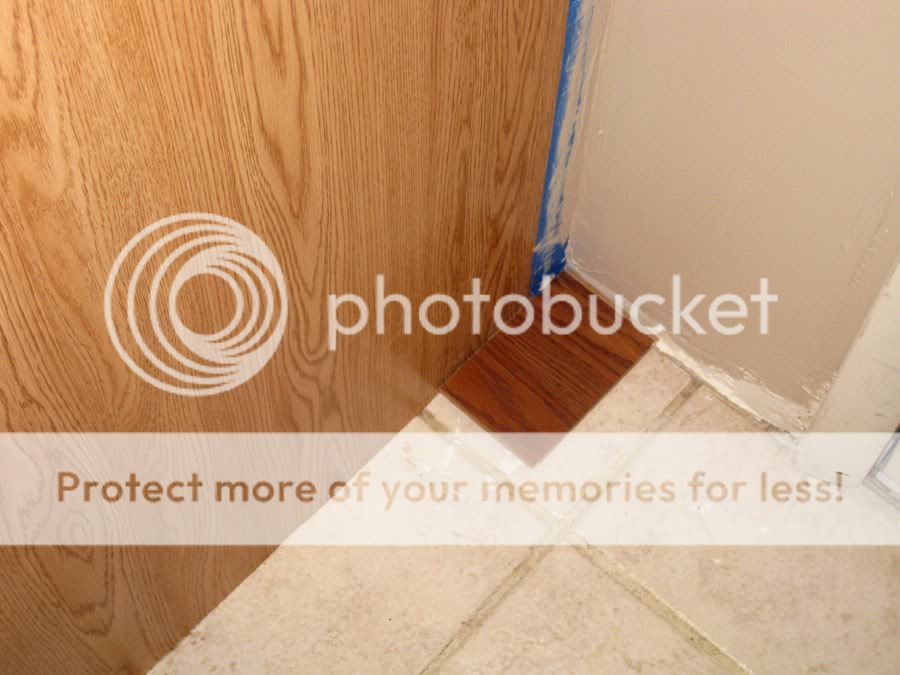
Before I began painting, I took stock and figured out what I DIDN'T want to do. The previous painter was SLOPPY and I wanted to avoid the following:


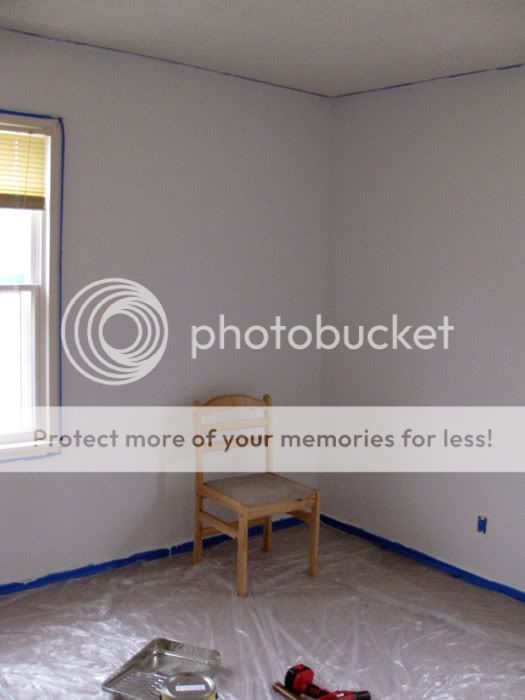
Then, I taped up the place ... I liiiiiike blue tape!


THEN it was time to make a final decision from all the paint chips! Yikes! Did you know there were SO MANY shades of brown?


Robin suggested we take off the tank only of the toilet ... which Erik helped us with. Thanks, sweetie!


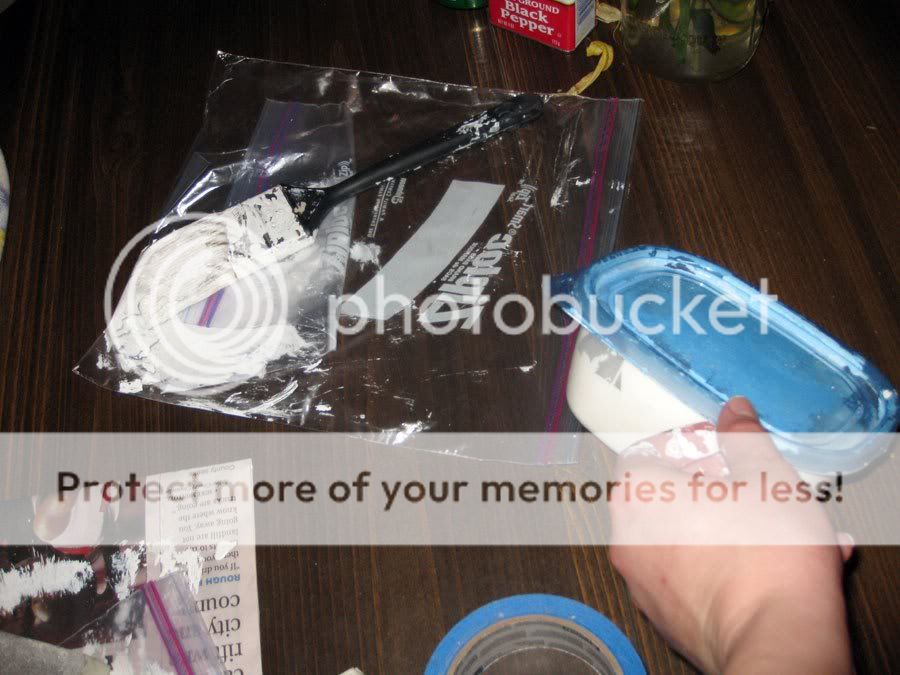
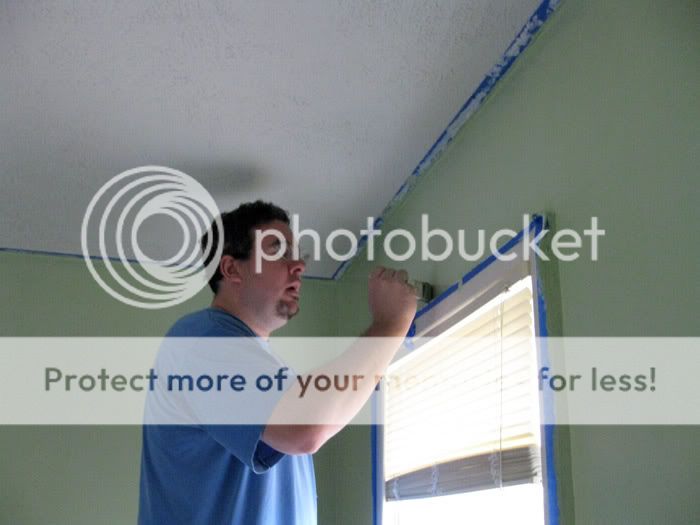
We then got to work priming the top half of the walls. Since we were painting the walls a dark color, the paint store tinted the primer for us!


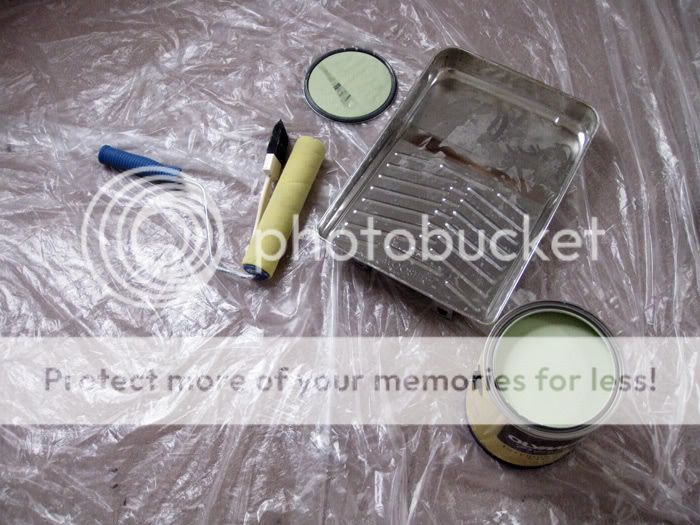
Robin LOVED the foam rollers. The reading I did suggested the foam over the other common rollers because it wouldn't leave lint on the walls. Heck, I'm convinced now to use foam for the regular painting, too! No bristles in the paint!


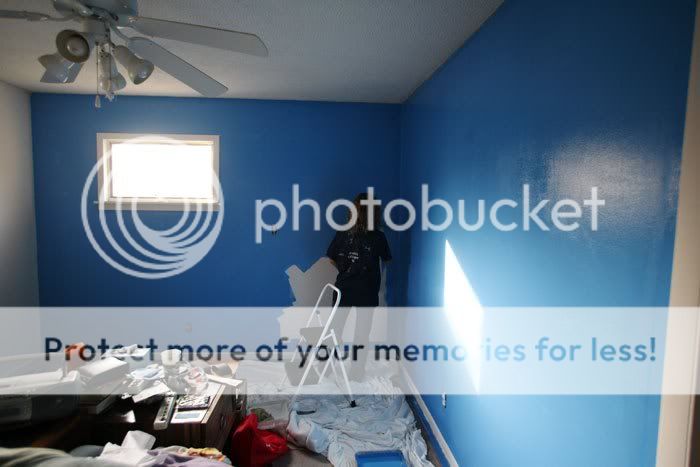
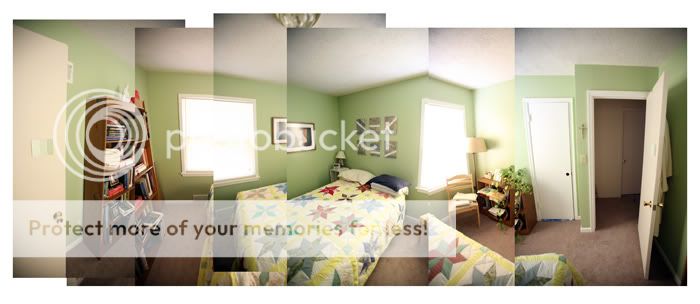
This is the first area I painted .... looked a little dark, but it dried beautifully!


Robin pondering my handiwork. (I think she was skeptical of the color at first, but it grew on her!)


In all my excitement, I was too hasty to put blue tape up, so I had to go back and retouch a bunch ... lesson learned for next time!


And Boulevard Wheat, my official sponsor of painting! ;-)


BE PATIENT!!!!!! We're in the homestretch now. I promise!

After the painting, it was time to put back the light fixture ... only I couldn't bear to put the gold fixture in the beautiful, brown bathroom. So Erik selected a new one that looks MUCH better!


We even hooked it up with energy efficient bulbs! Go us!


(Did I mention this was my first electrical project EVER????)

While I was putting in the new fixture, I decided to put in new outlets. Why not? Right? ;-) I took them out carefully (BTW, we killed the power for this ENTIRE project, to be SAFE!), then looked and unscrewed only one part and put it on the new one. I did it this way so I wouldn't confuse or cross any wires.


I have to admit I was REALLY nervous about everything working. I was SOOOOO nervous when I flipped the breaker, but amazingly IT ALL WORKED!!!!!!!!!!!!!


The mirror is even up! The only piece left is the vent (I still need to paint it) and the closet door (need to paint that, too!). Other than that, the bathroom just needs a new shower curtain and rug! Then we're good to go!


The last piece was a new shower toy .... but I haven't been able to test out the new awesome stream of water because there is no hot water in the front shower :-(.


Thanks for reading all the way down!!!!!!!!

Be sure to leave a comment if you made it down this far, especially about the brown color! :-)